How to lay the floor tiles in five steps paved with perfect tiles
Floor tiles can be said to be an integral part of home improvement. For many people the first time decoration, shop floor tiles how paste, is very vexing problem, so, Xiao Bian today to tell you, five steps so that we perfect paving tiles it. 
How to spread floor tiles
1, tile soak
Remove the tiles you have purchased and soak for more than 2 hours. Soaking is to allow the tiles to absorb enough moisture to avoid drawing moisture from the material after the tile is finished, causing the adhesive to have insufficient moisture and affecting the firmness of the adhesive. If moisture is insufficient, it is easy to cause emptying or falling off. The tiles need to be removed from the water and wiped off the surface moisture before the tiles are fully immersed and before the tiles are laid for paving.
2, set the auxiliary line
Before starting to paving, suspend a vertical line on the wall screed to determine the tile's line size. Then set the horizontal line, so that you can ensure that the tile is laid horizontally and vertically and the surface is flat. 
3, set the support board
When laying ceramic tiles, horizontal lines are used as guidelines, and a wooden board that can support the tiles is provided to prevent the tiles from displacing or falling before reaching the adhesion strength.
4, according to the order posted
Tiles are generally laid out by the edge of the door (or balcony), from top to bottom, from left to right. The specific paving method is: first leveling the layer with water, using a shovel to put the mortar (or other adhesive) on the back of the tile, and then paste the tile on the wall, then tap the tile with a shovel handle or rubber hammer, Fill the space between the walls and the tiles with the mortar. 
5, the mouth to align with the horizontal line
If it is not, you can adjust it by placing small pieces of wood under the tiles. After using one line, use a ruler to cross it and level it. The upper part is hammered with a hammer, and the undercut is filled again to ensure flushing. The sticky material should not be too thick or too thin. Too thick to be easy to spread, too thin to stick.
6, cleaning, maintenance
The stains and dust on the surface after the floor tile is finished need to be cleaned in time. Here are some methods for cleaning and maintenance. If the surface contamination is serious, especially when it is contaminated with hard-to-remove stains, it can be wiped with 10% dilute hydrochloric acid solution. If you use dilute hydrochloric acid, you must finally rinse it with tap water. After the glazed surface of the tile is cleaned, a thin layer of brightener can be sprayed on the surface of the tile and wiped again with a soft cloth to keep the surface of the tile bright and uncontaminated. 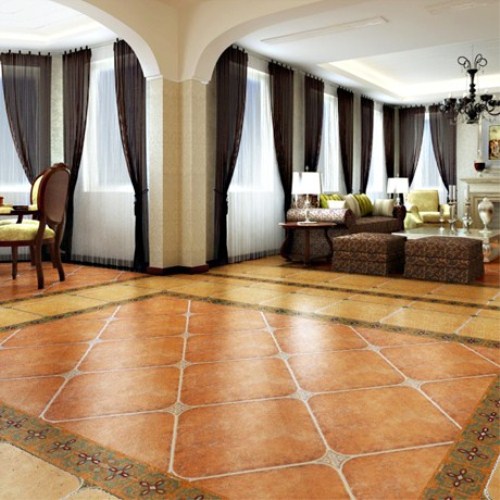
Editing summary: The above is Xiaobian's introduction on how to spread the floor tiles . After reading this article, there is a more specific understanding of how to spread the floor tiles . In fact, as long as you master the above five steps, you can perfectly paste your own floor tiles slightly.
3D Acrylic Edge Banding with Double Color Edge Banding and one color edge banding. Solid color and woodgrain design all be supported. Perfect transparent surface. Japan Acrylic raw material. German ink and JOWAT primer. Customize color and size for Acrylic edge banding. Sinowolf Plastic Dekor CO., LTD always focus on producing best quality edge band. Using high-end raw materials, all chemical additives import from Europe, to make sure our plastic edge banding keep stable quality 3-5 years. Our products range include PVC edge band, ABS edge band, 3D PMMA acrylic edge band, Aluminum edge band.

Double Color Acrylic Edge Banding
Double Color Edge Banding,Wood Color Edge Banding,Yellow Color Edge Banding,Multiple Color Edge Banding
Sinowolf Plastic Dekor Co., Ltd , http://www.sinowolfdekor.com